IF
You Are Facing Download Issue With Big File Sizes because Your Daily Internet
Limit Didn’t Allow You To download Big Files Then Try This Method.
Steps-
1.
First Of All Download
These 3 Files Using Google Chrome.
Via Browser Download Link
IDM+ Settings Download Link
2.
Install IDM+ (Don’t
Open It), After IDM+ Install Via Browser, Open It And Click On Setting > General,
Scroll Down & Find Download Manager And Select IDM+ As Default.

3.
Open IDM+, Give
Require Permissions, Screen Will Show A Warning Click On Ok, Click On Down
Arrow Icon, Select All Apps Option, Find IDM+, Select Don’t Optimize Option For
It And Click Ok.

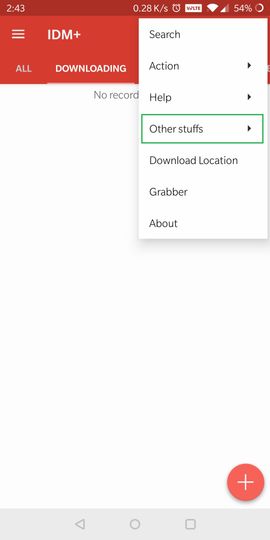
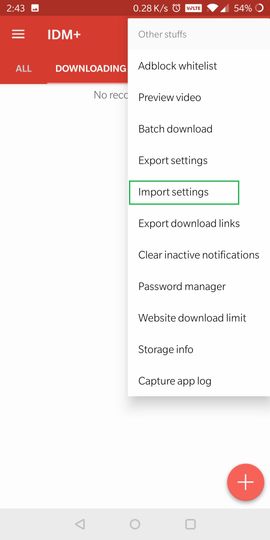
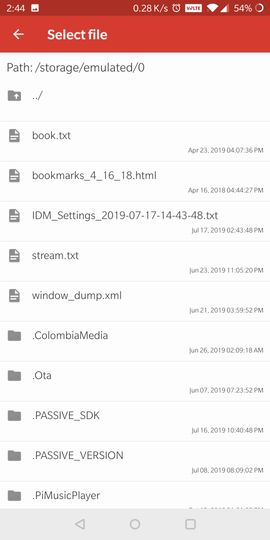
4.
Click On Three Dot
Icon > Other Stuffs > Import
Settings And Choose Downloaded IDM+ Settings File.

5.
If You Want To
Download From Google Drive Link Like Sharer, GD-tot, Pirate-drive, ACE-files
Etc. Then Please Turn On Desktop Mode.

6.
Sign In Into Your
Gmail And Give Require Permissions And Start Download.

7.
If You Downloaded
0-99% And Want To Pause And Resume Next Day Then Any Another Day Open Below Link In IDM+ Browser After Signing In Into Your Google Account. Check Folders,
Find File, Update Link And Resume Your Download.

8.
If You Are Not
Downloading From A Google Drive Link Then Come Directly To This Step After 4th
And Any Another Day Generate A Link, Copy It And Open IDM+ And Select The File
Which You Want To Resume, Click On Three Dots, Click On Refresh Link Option And
Update It And Start Download.